.jpg)
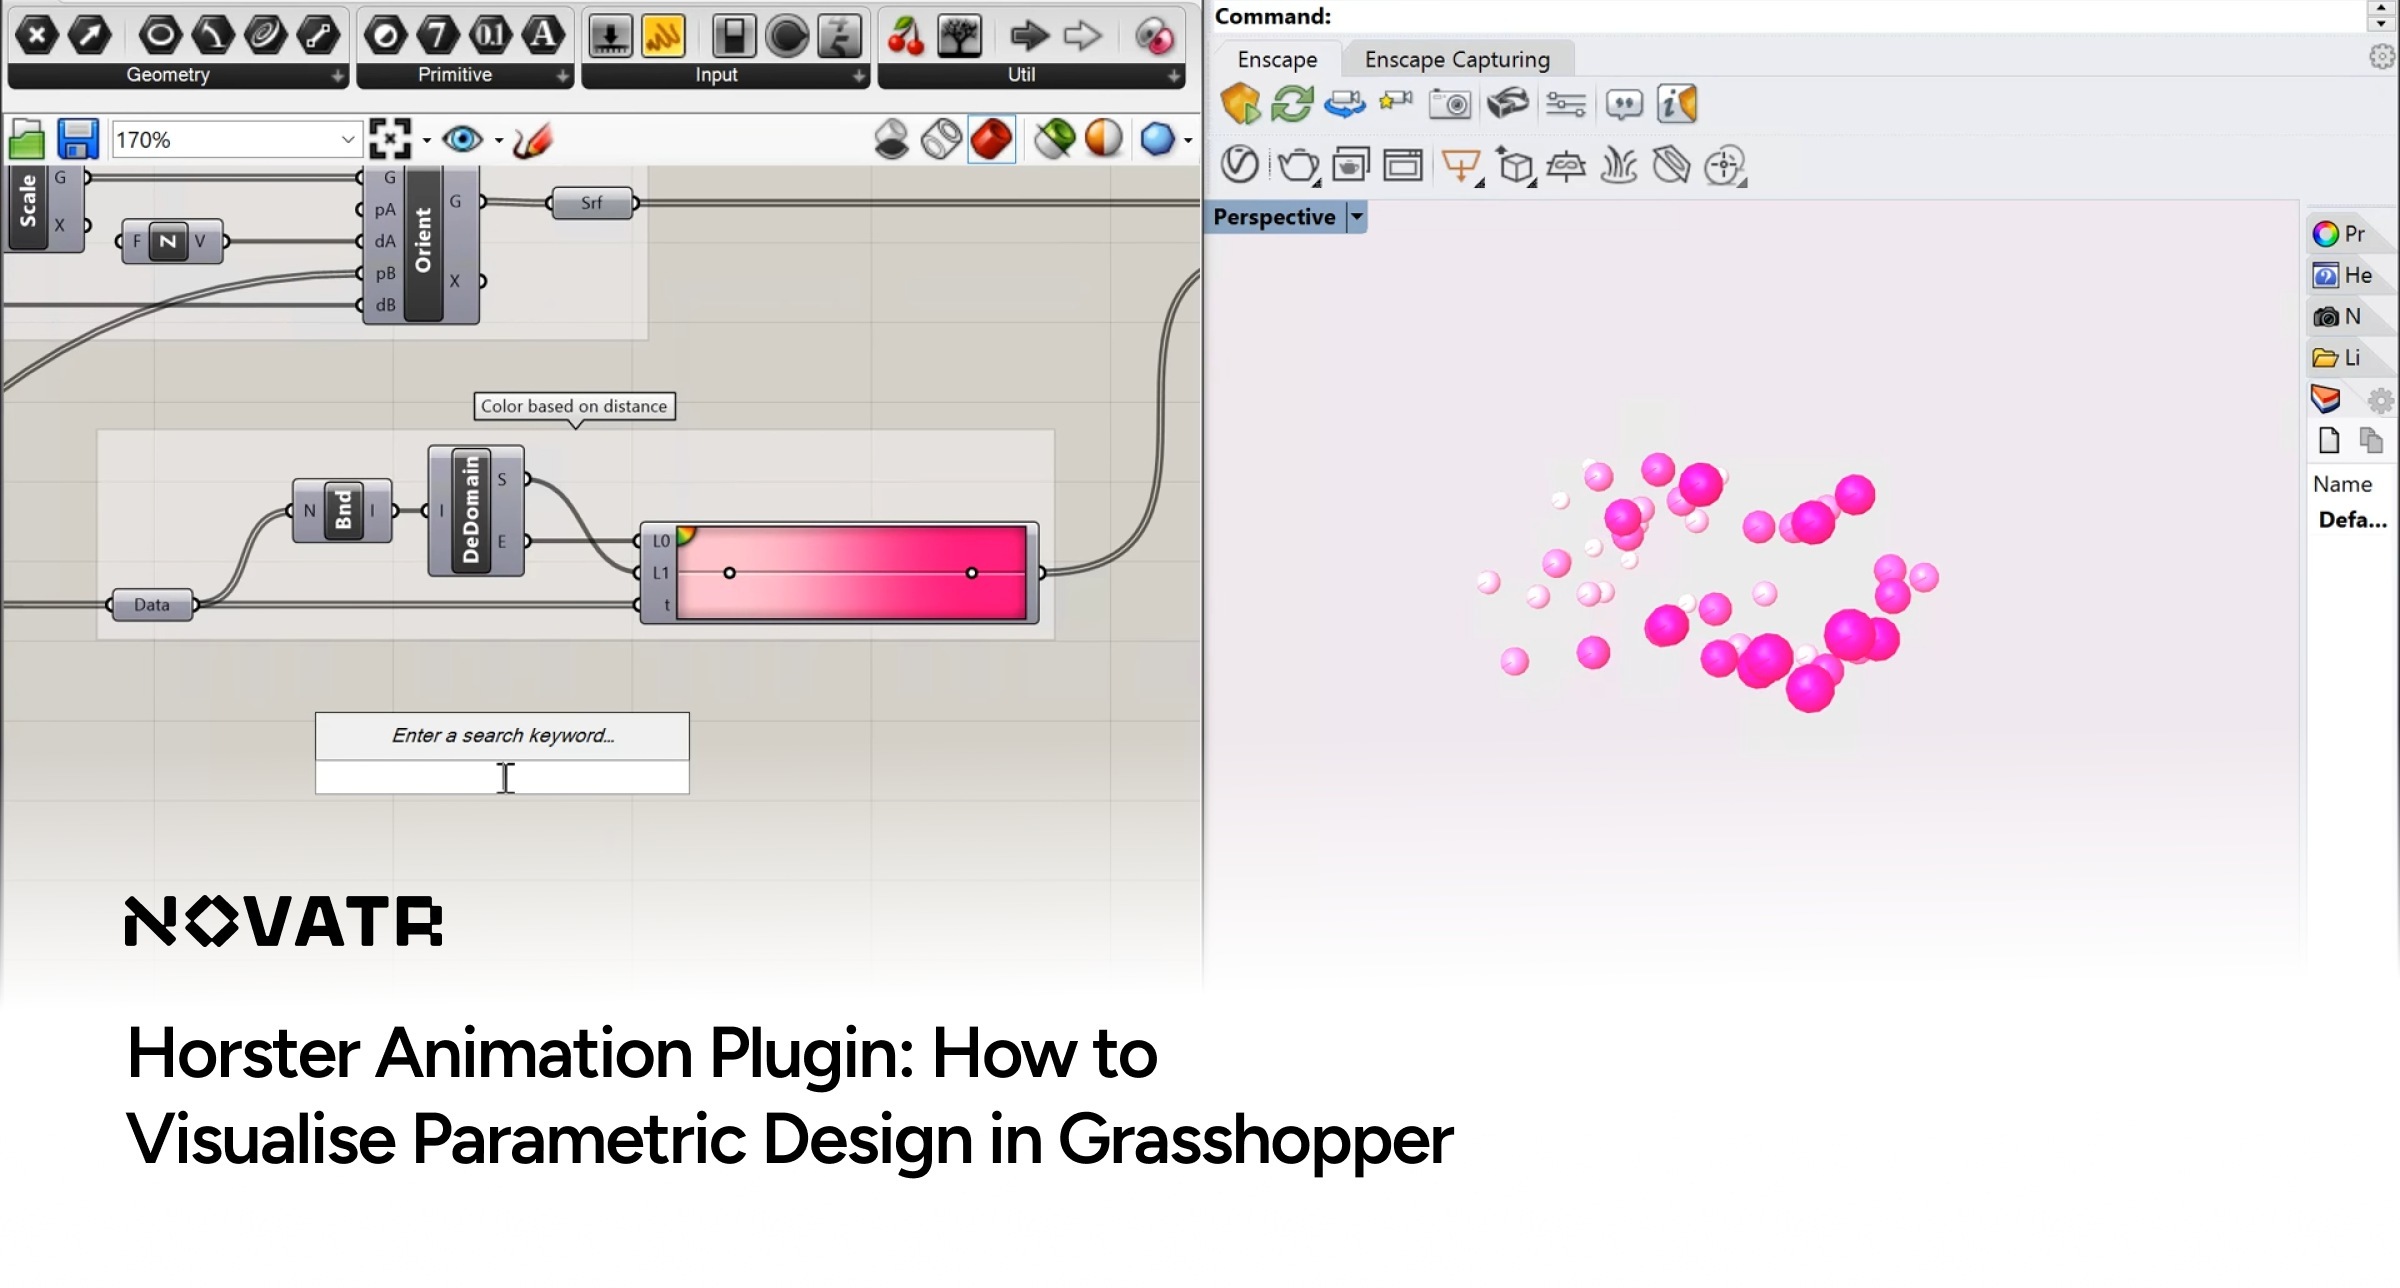

What is Horster?
Horster is an animation plugin for Grasshopper that helps designers turn complex parametric models into dynamic visual sequences. It combines design computation with motion, creating a structured workflow for animations. The Horster tools make it easier to visualize changes, communicate design intent, and explore spatial transformations clearly and efficiently.
Here are the features of Horster:
- Transforms parametric data into smooth animated sequences for clear visualization of motion and structure.
- Provides precise control over timing and sequencing, so every change in the model can be showcased step by step accurately.
- Offers options to export animations in various formats, making it easy to share or include in presentations and documentation.
- Integrates seamlessly with other Grasshopper components and plugins, enabling extended functionality and flexible workflow combinations.
- Tracks changes automatically in models, helping users identify updates efficiently.
- Allows layering and grouping of animations for organized and manageable outputs.
How To Integrate Horster with Grasshopper?

Image: Source
Alt text: Horster with grasshopper software dashboard.
Proper integration of Horster with Grasshopper allows your parametric models to connect and interact seamlessly within the animation workflow. Follow these steps to integrate Horster with Grasshopper:
- Install the Horster Plugin: Download Horster from the official source, place it in Grasshopper’s components folder, and restart Rhino and Grasshopper to load the plugin.
- Access Horster Components: Open Grasshopper and locate the Horster nodes in the toolbar or search panel to confirm availability.
- Connect Your Model: Link your parametric model to the Horster nodes so the plugin can read and animate your design data.
- Configure Animation Parameters: Set essential values such as frame rate, duration, and sequence order to control animation flow.
- Verify Integration: Run a preview to check that Horster responds correctly to your model and settings.
- Prepare for Workflow or Export: Once everything works, continue building the animation or export it for presentations or documentation.
How To Visualize Parametric Design in Grasshopper Using Horster Animation?

Visualizing designs in Grasshopper with Horster Animation turns static geometry into motion that’s easy to read and analyze. It shows how parameters shape design outcomes and helps refine spatial logic. Each sequence highlights form and behavior clearly, offering a smooth parametric visualization force for study and presentation.
Step 1: Set Up the Parametric Model
Start by organizing your parametric model in Grasshopper with clear inputs and variable sliders. Each slider should control one design aspect, such as geometry, scale, or rotation. A clean, structured model ensures smooth interaction with Horster, allowing every adjustment to be animated precisely without breaking design continuity.
Step 2: Connect Horster Components
After preparing your model, connect it to Horster components within Grasshopper. This connection lets Horster read the parameter values directly and translate them into animation data. Ensure all links are correct, as stable connections between model inputs and Horster nodes are crucial for generating accurate and fluid motion.
Step 3: Define Animation Parameters
Configure animation settings, including frame range, playback speed, and time interval. Establishing accurate control values ensures consistency between model changes and animation flow. Adjust these parameters based on the project’s complexity or presentation goals.
Step 4: Preview and Refine Animation
Preview the animation inside Grasshopper to assess timing and accuracy. Watch how parameters shift and interact in motion, and adjust sliders where movement feels abrupt or misaligned. This preview step helps refine the sequence before rendering, ensuring smooth transitions and clear visual communication of your design logic.
Step 5: Render and Export
After refinement, render the animation using Horster’s export options. You can save frames or complete videos depending on project needs. This stage helps visualize parametric data clearly, allowing results to be presented effectively in reports, design reviews, or collaborative sessions without losing technical precision.
Step 6: Apply in Design Contexts
Use the rendered animation to present design transformations, material behavior, or facade visualization using Horster animation for architectural evaluation. This step connects digital models with clear visual feedback, helping designers and clients interpret geometric complexity easily and make informed design decisions with confidence.
Step 7: Review and Optimize
Finally, review the complete sequence for timing, accuracy, and clarity. Make any necessary refinements to ensure that your animation aligns perfectly with the design’s intended concept and communicates information effectively.
Best Practices & Common Mistakes

Here are key best practices and common mistakes to keep in mind for smooth and accurate Horster animations in Grasshopper:
Best Practices
- Plan Animation Early: Outline your model’s sequence and key steps before animating to maintain clear structure and avoid errors later.
- Use Moderate Frame Rates: Select frame rates that ensure smooth motion without overloading the system or slowing previews.
- Label and Group Components: Organize nodes and groups in Grasshopper so you can easily track and adjust parameters.
- Preview Before Export: Check the animation for timing and transitions to correct issues before final rendering.
Common Mistakes
- Skipping Parameter Checks: Not verifying inputs can produce broken or inaccurate animations.
- Overloading the Model: Adding too many moving components can slow performance and make animations hard to manage.
- Uneven Keyframe Timing: Irregular timing leads to jerky or unrealistic motion that misrepresents the design.
- Not Saving Versions: Failing to save updates can lead to lost progress or confusion during adjustments.
.png)